How to Set Up Your DJ Equipment for Flawless Performances
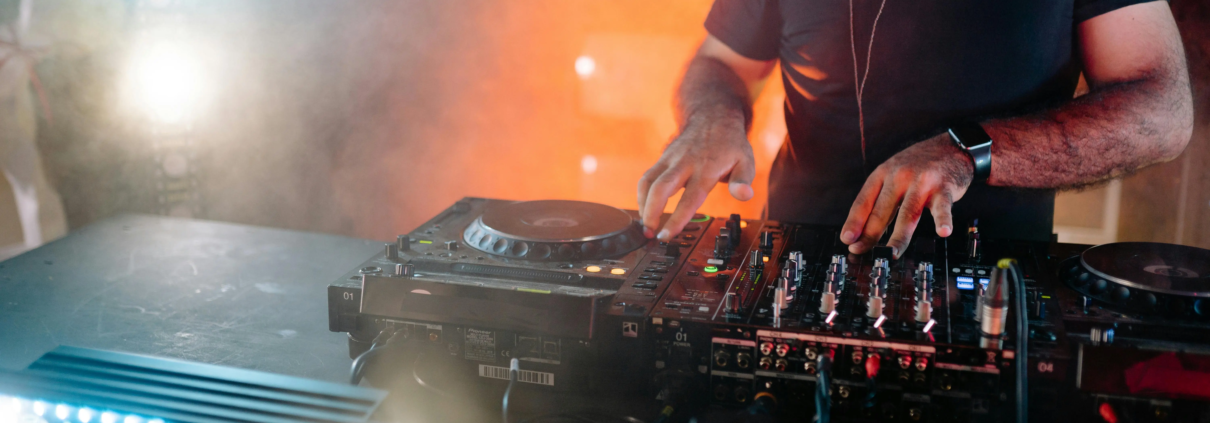
A successful DJ performance starts long before you step behind the decks. Properly configuring your DJ equipment is crucial for ensuring smooth transitions, clear sound quality, and a stress-free setup. Whether you’re preparing for a club gig, festival, or private event, understanding how to organize and optimize your gear can make or break your performance.
In this article, we’ll guide you through the essential steps to set up your DJ equipment for perfect performances, covering everything from planning to execution.
1. Know Your Setup: Plan Ahead
Before the day of the event, you need to have a clear understanding of the equipment required and the setup process.
Key Steps:
- Confirm the Venue’s Equipment: Find out what gear the venue provides (e.g., speakers, mixers, cables) and what you’ll need to bring.
- Create a Checklist: Write down everything you need, such as your controller, laptop, headphones, and power adapters.
- Visualize the Layout: Sketch out how your gear will be arranged on the DJ booth or table.
.
2. Inspect Your Gear Before the Gig
The last thing you want is technical issues during your set. Before you leave, inspect and test your equipment to ensure everything is in working order.
Checklist for Inspection:
- Laptop: Ensure your software is updated and tracks are organized into playlists.
- Cables: Check for frays or loose connections.
- Controllers or Mixers: Test knobs, faders, and buttons to ensure functionality.
- Speakers: If you’re providing your own, test for clarity and ensure there’s no distortion.
3. Arrive Early to Set Up
Arriving at the venue with plenty of time allows you to set up without rushing and troubleshoot any issues.
Why It’s Important:
- Gives you time to adjust to the booth layout.
- Allows for soundchecks and volume adjustments.
- Reduces pre-performance stress.
4. Setting Up Your DJ Equipment
Here’s a step-by-step guide for a typical DJ setup:
Step 1: Arrange Your Gear
- Place your controller or mixer on a sturdy surface.
- Position your laptop stand so the screen is at eye level for easy access.
- Keep your headphones and USB drives within reach.
Step 2: Connect Your Equipment
- Controller or Mixer to Laptop: Use the appropriate USB cable.
- Mixer to Speakers: Connect via RCA, XLR, or 1/4-inch cables.
- Power Cables: Plug everything into a reliable power source. Use a surge protector for added safety.
Step 3: Calibrate Your Software
- Launch your DJ software (e.g., Serato, Rekordbox, Traktor) and check that your controller is recognized.
- Test the audio output and ensure your decks are properly mapped.
Step 4: Perform a Soundcheck
- Play a track and gradually increase the volume.
- Adjust the EQs to match the venue’s acoustics.
- Test your microphone (if applicable) to ensure it’s clear and feedback-free.
5. Optimize Your Sound Quality
Sound quality is critical to delivering an engaging performance. Follow these tips to fine-tune your audio:
- Use the Master EQ: Balance bass, mids, and highs for a clean mix.
- Avoid Clipping: Keep the master volume in the green zone to prevent distortion.
- Position Speakers Correctly: Angle them towards the audience for even sound distribution.
6. Create a Backup Plan
No matter how well-prepared you are, issues can still arise. Always have a contingency plan:
- Bring a spare USB drive with pre-recorded sets in case your laptop fails.
- Carry extra cables, power adapters, and a backup pair of headphones.
- Familiarize yourself with the venue’s equipment in case you need to switch to their gear.
7. Test Your Visuals (If Applicable)
If your set includes visuals, such as LED lights or video projections, test them alongside your audio setup. Ensure synchronization between your music and visuals to create a cohesive performance.
8. Final Pre-Performance Check
Before you hit play on your first track, double-check the following:
- Cables: Securely connected and out of the way to avoid tripping.
- Volume Levels: Set appropriately for the audience and venue size.
- Playlists: Organized for easy access during your set.
- Comfort: Adjust your gear layout to ensure you can move smoothly.
Why Proper Setup Matters
Setting up your DJ equipment correctly not only ensures a smooth performance but also demonstrates your professionalism. When your gear is organized and your sound is flawless, you can focus entirely on connecting with your audience.
For more tips, tricks, and resources for DJs, visit mp4remix.com.
Conclusion: Prepare Like a Pro
Learning how to properly set up your DJ equipment is a crucial skill that every DJ should master. By planning ahead, testing your gear, and following a structured setup process, you’ll minimize the risk of technical issues and maximize your performance quality.
4






Leave a Reply
Want to join the discussion?Feel free to contribute!